 Money
Money
Tracking payments — sent, late and expired links
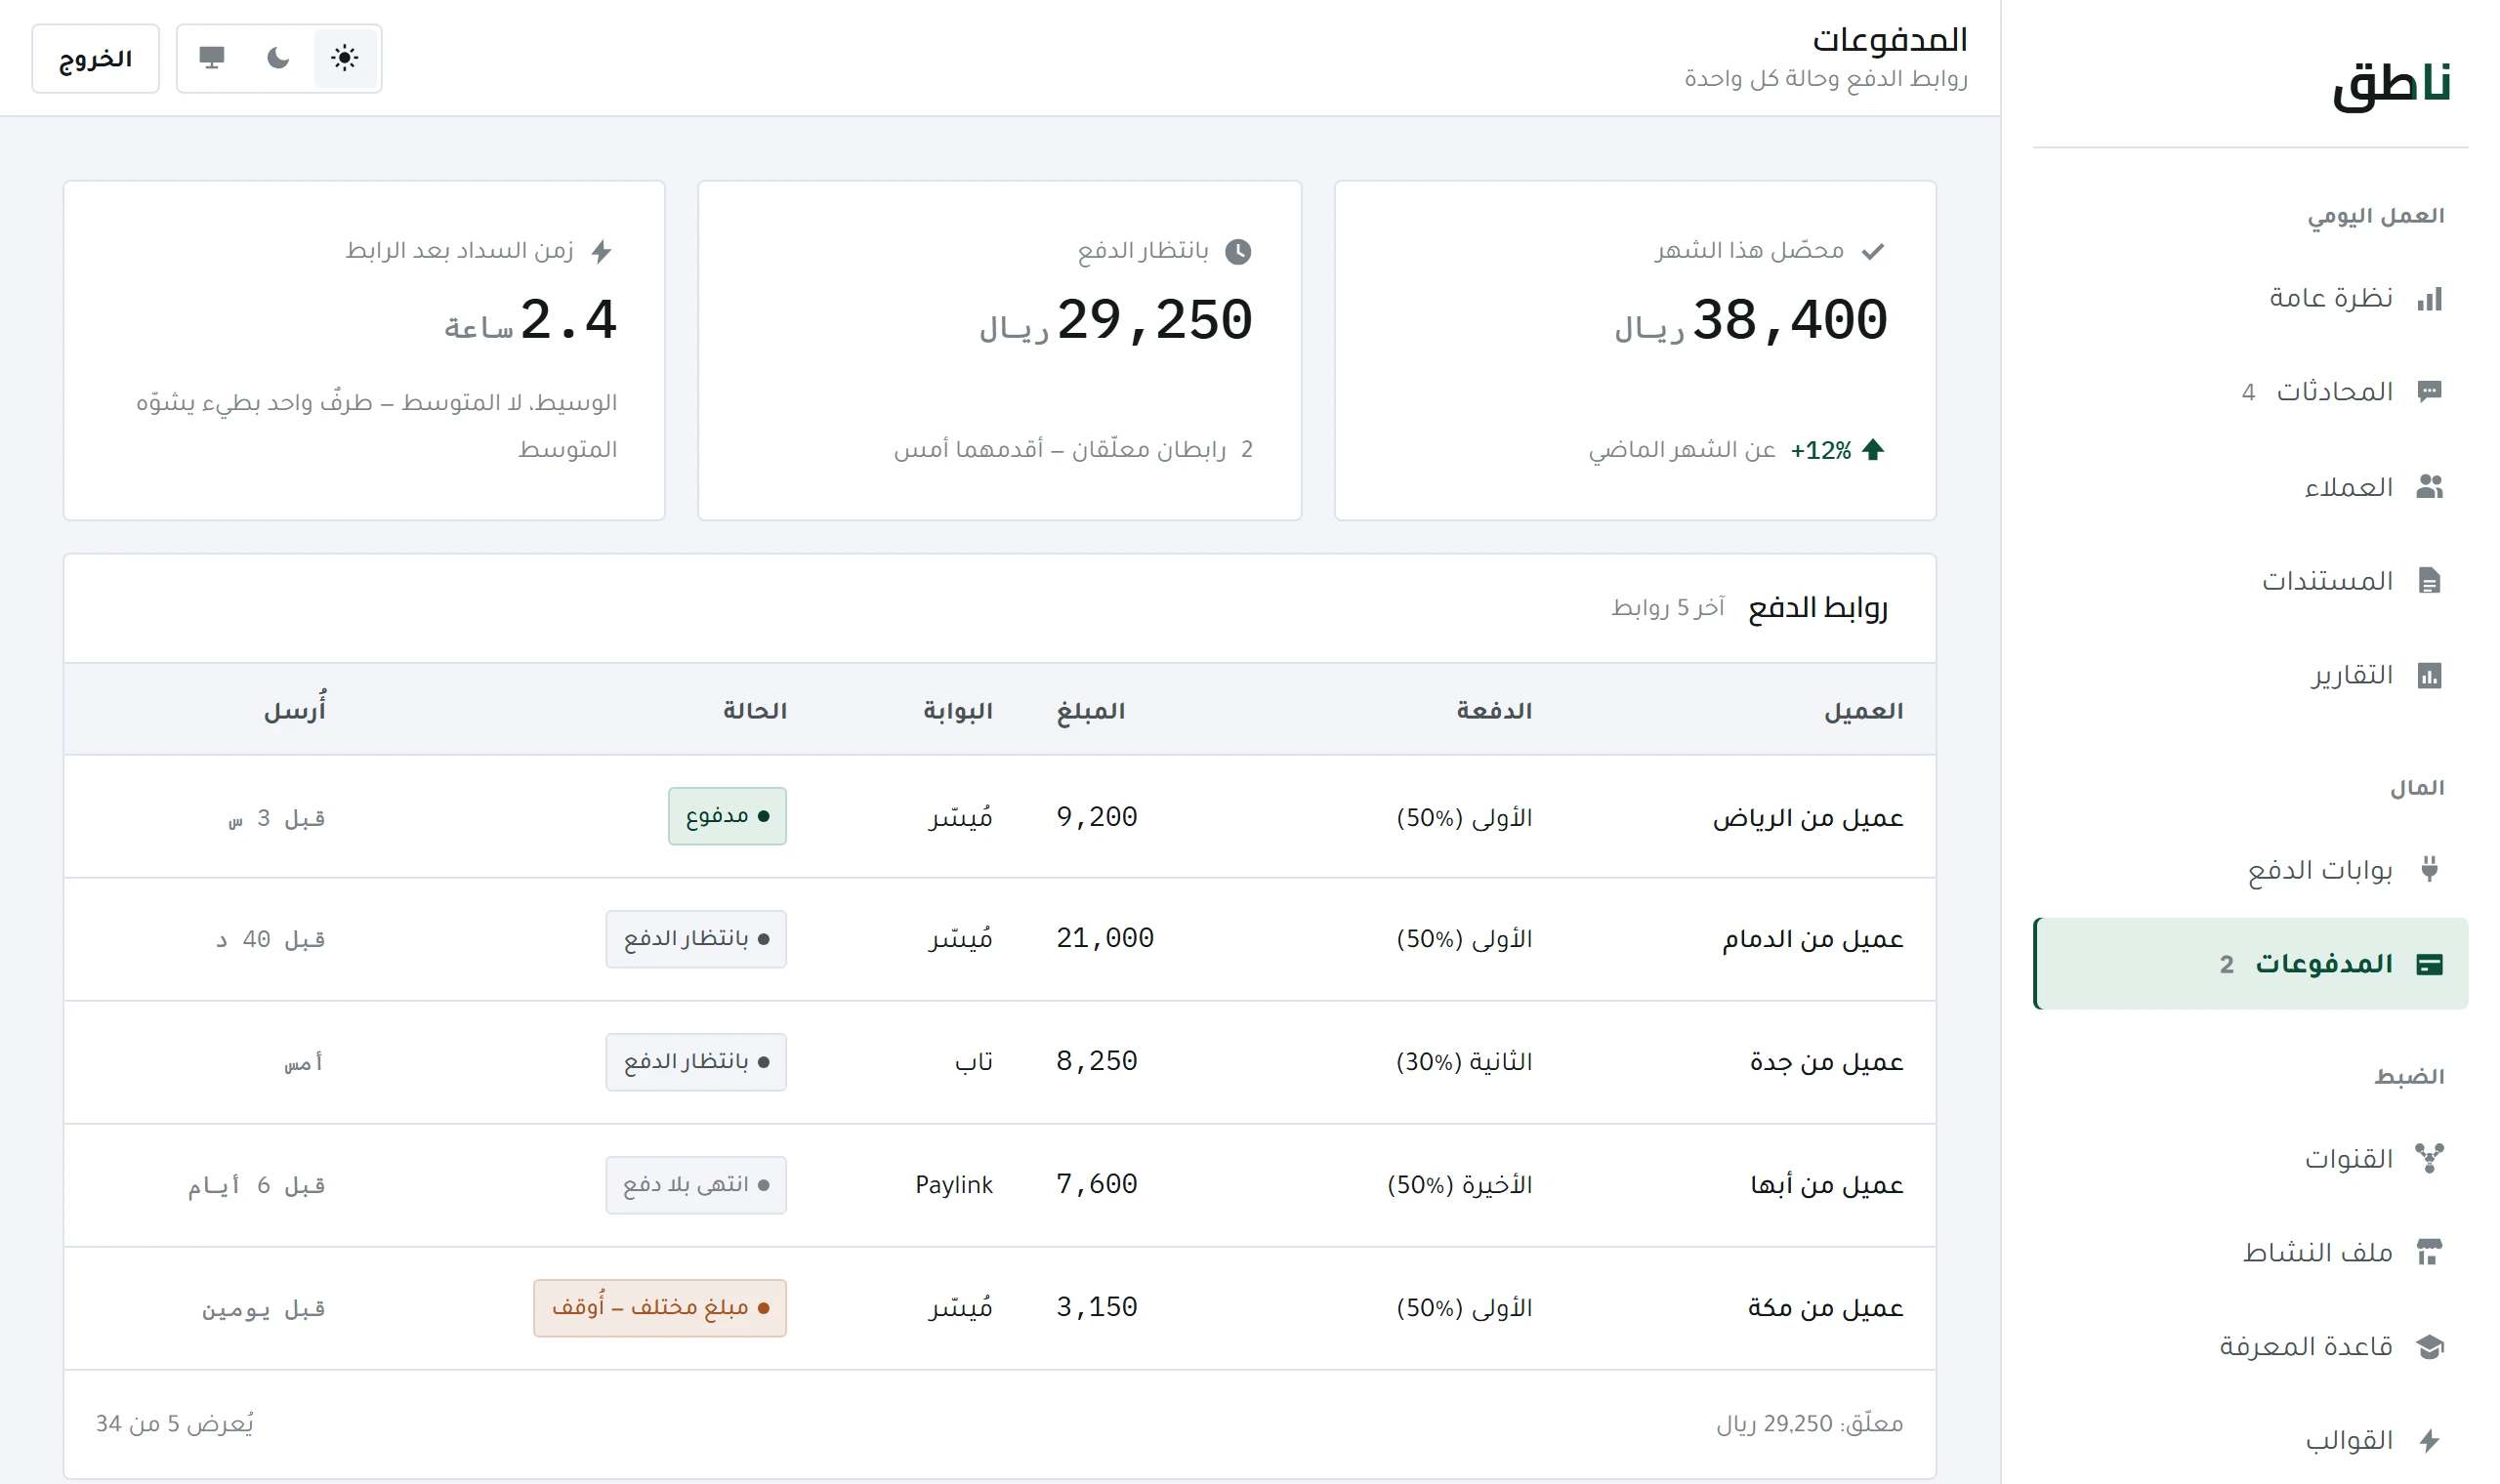
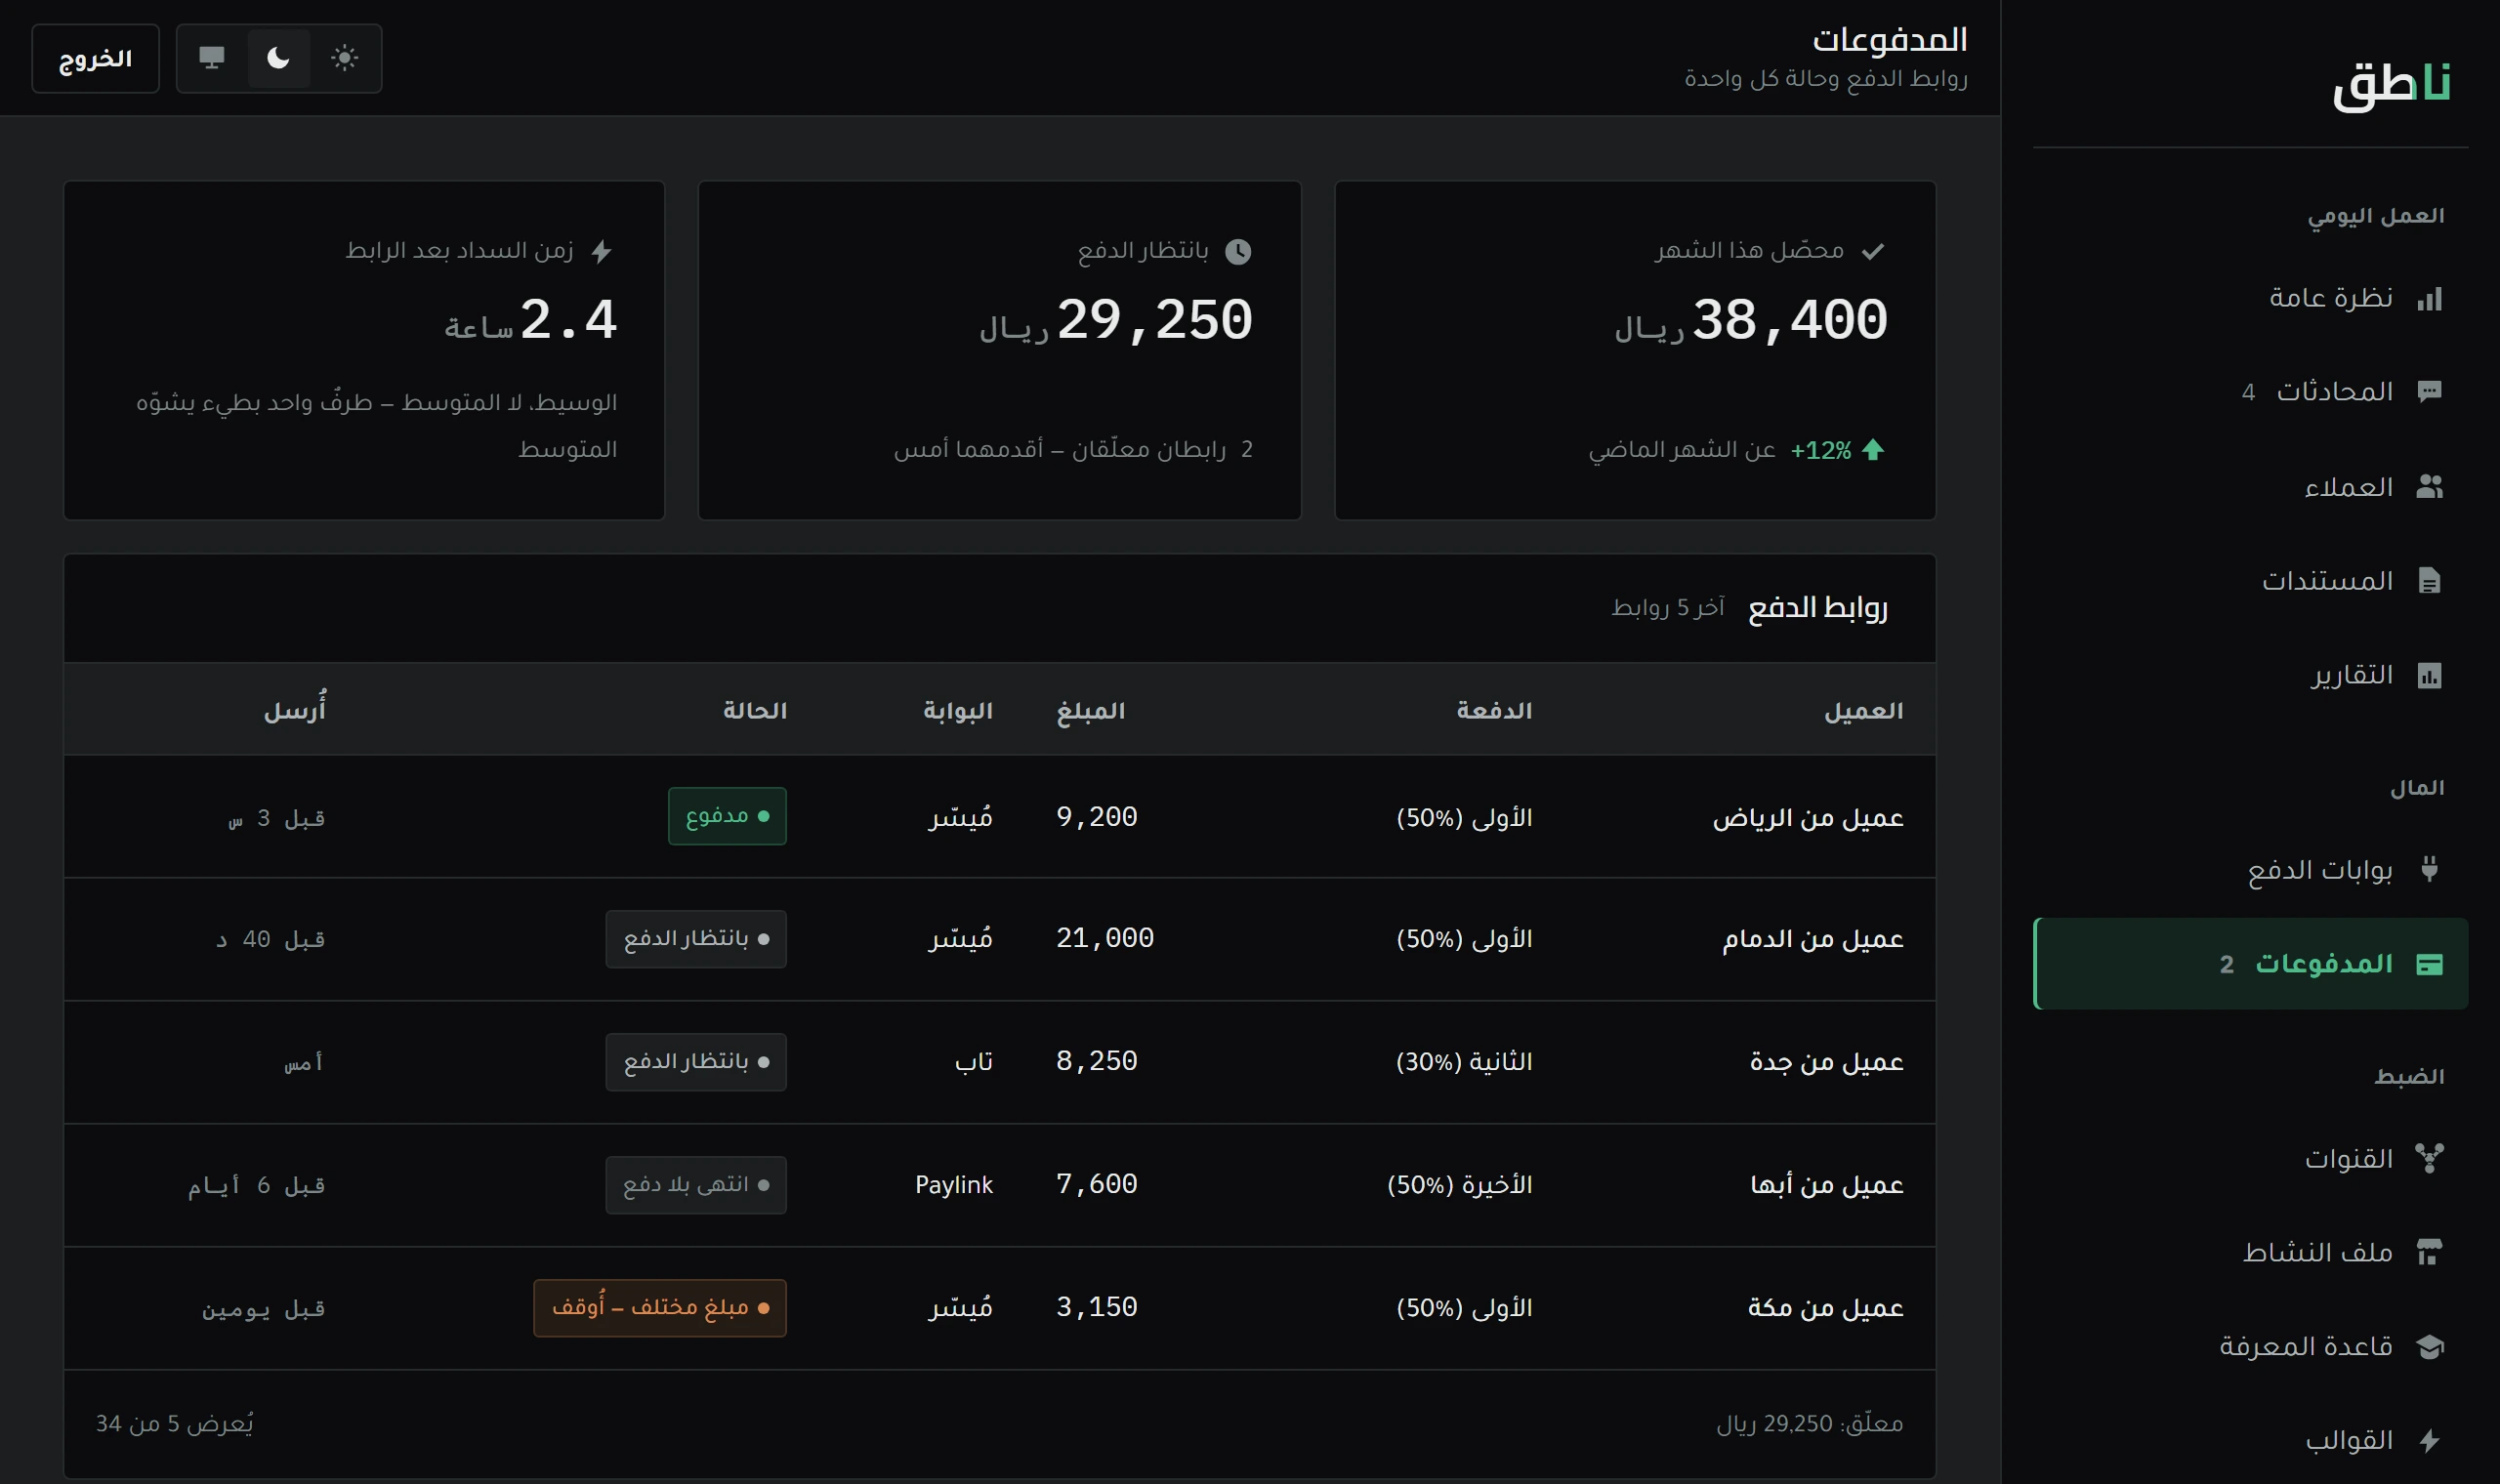
The payment ladder, the state of every link, and why a payment is not recorded just because the customer said «I transferred it».
6 minOpen lesson
Every gateway names its keys its own way. Where to find each of them, and the difference between a test key and a live key.
Money · 7 min read
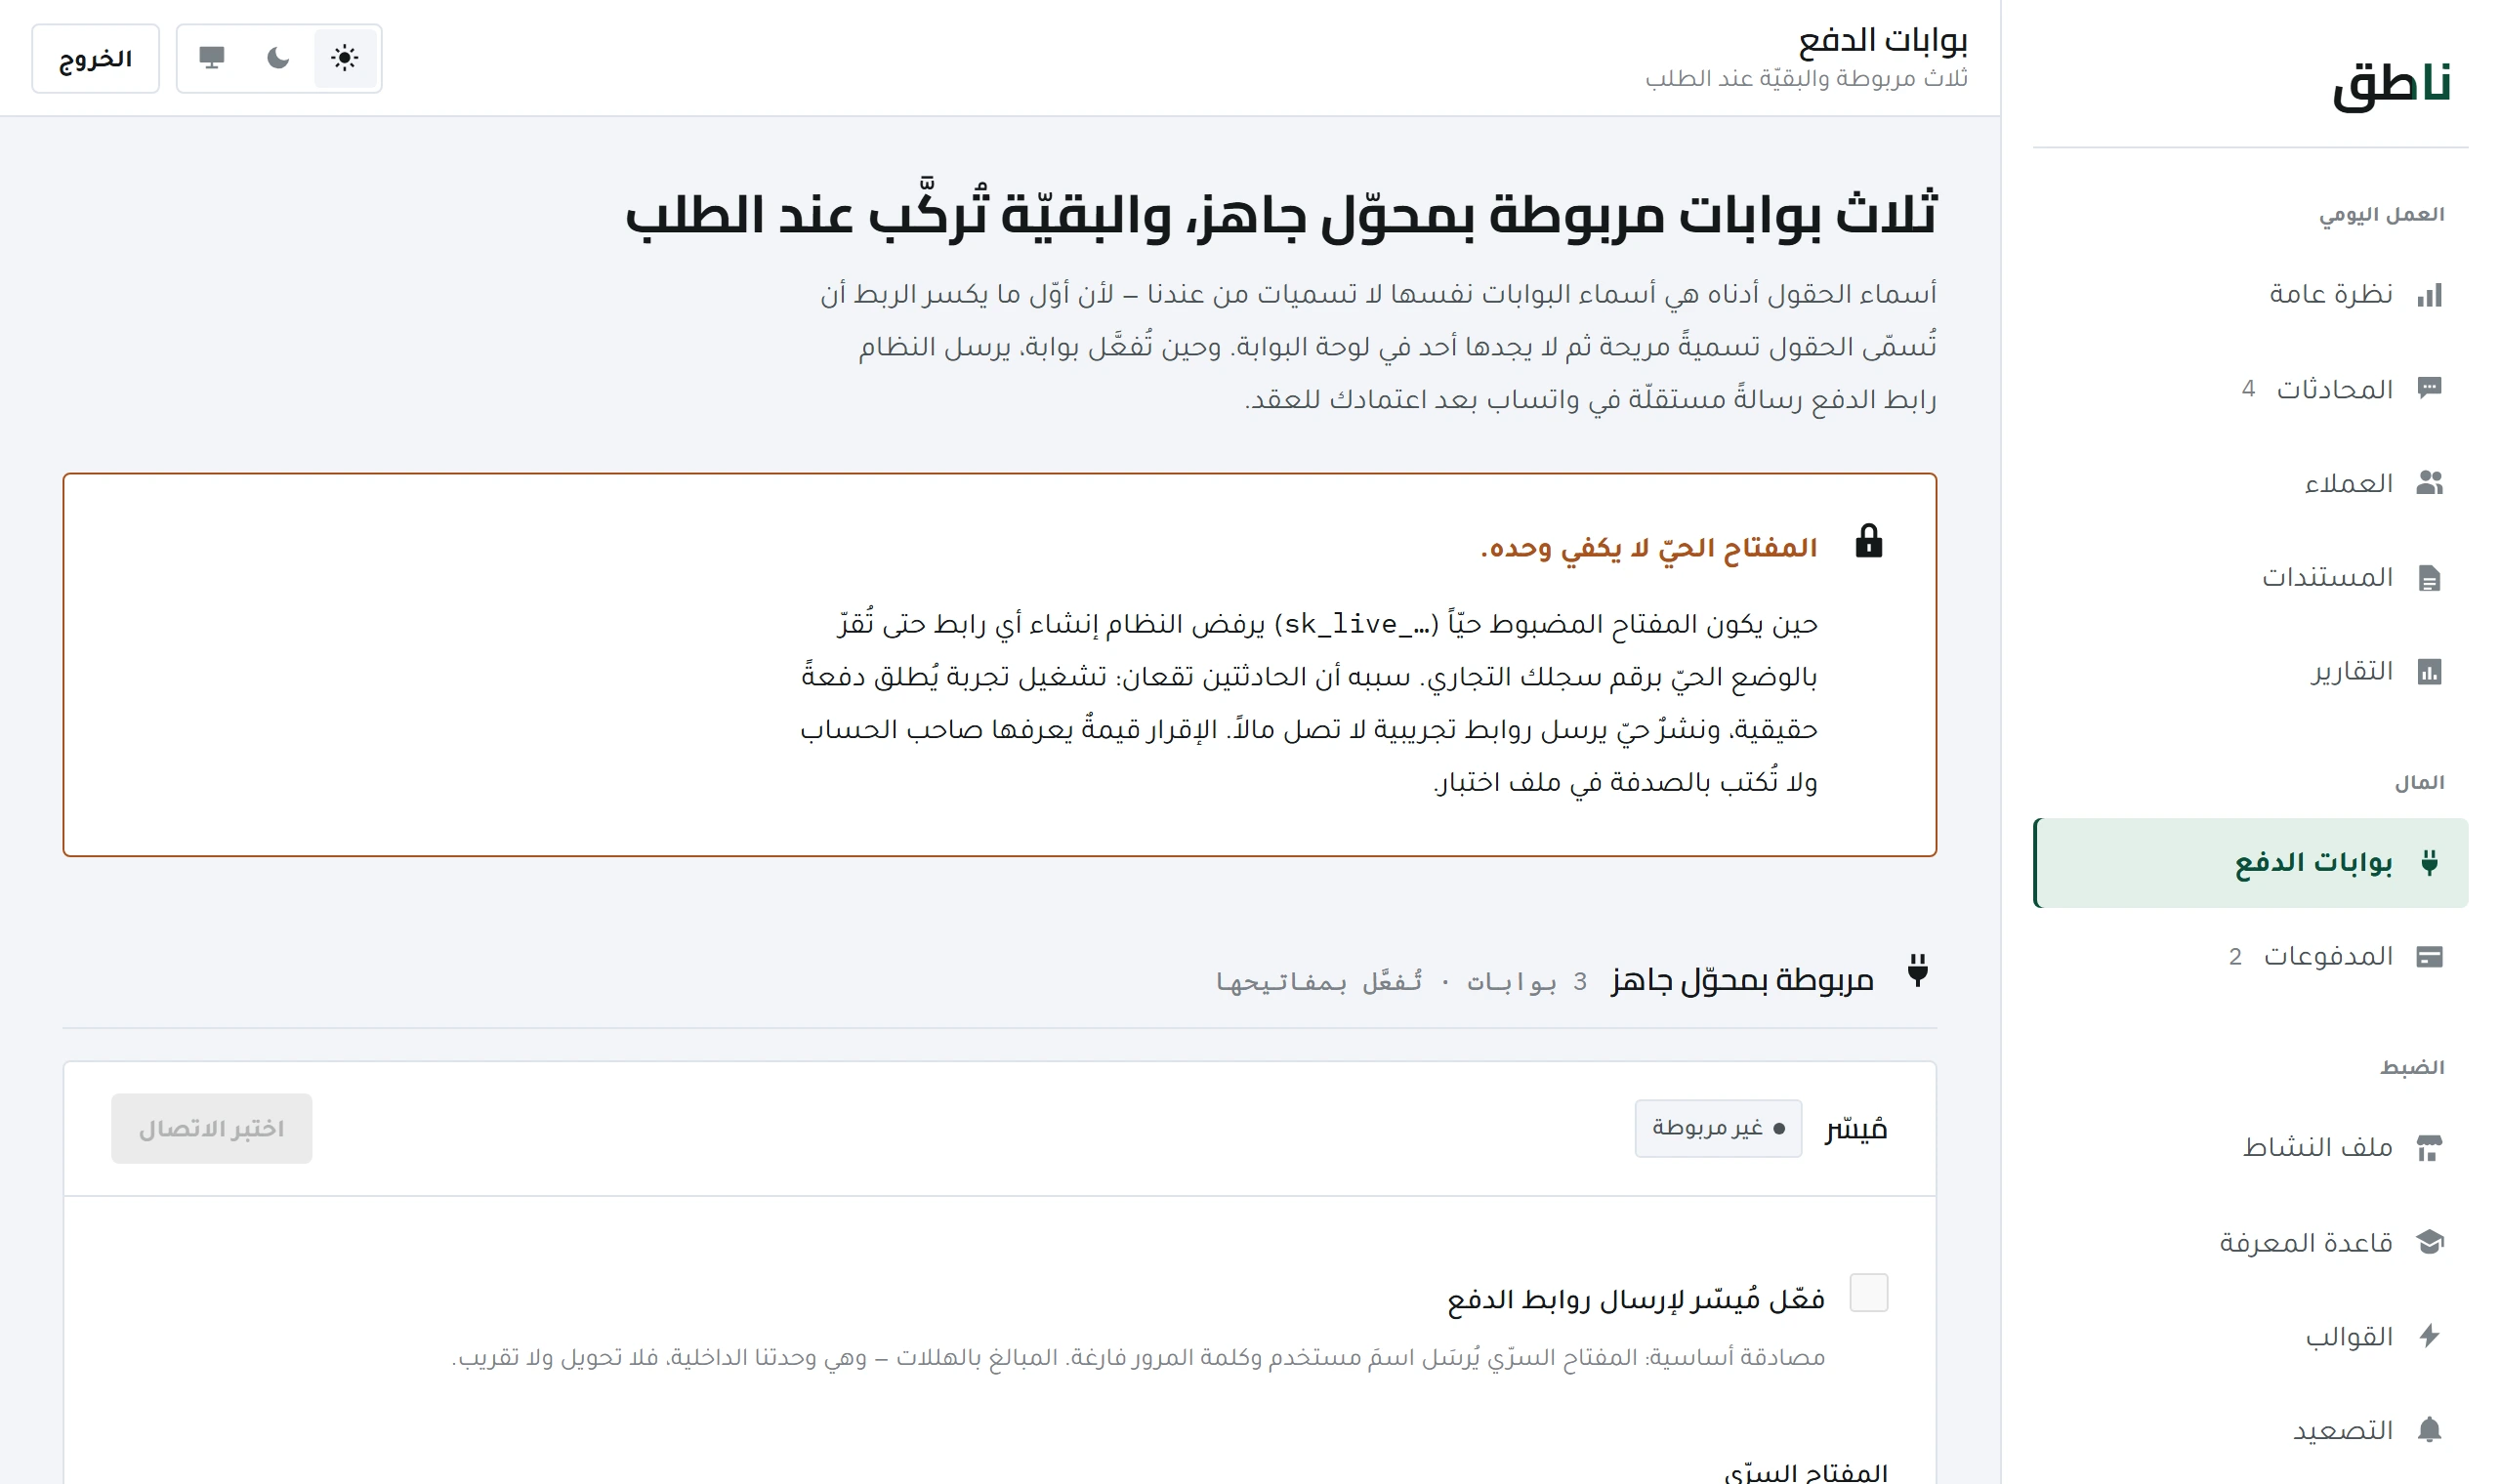
Every Saudi payment gateway names its keys its own way, and asks for a different number of them. The gateways screen writes them as the gateway names them in its documentation not as it would suit us to unify them — so copy-and-paste works the first time.
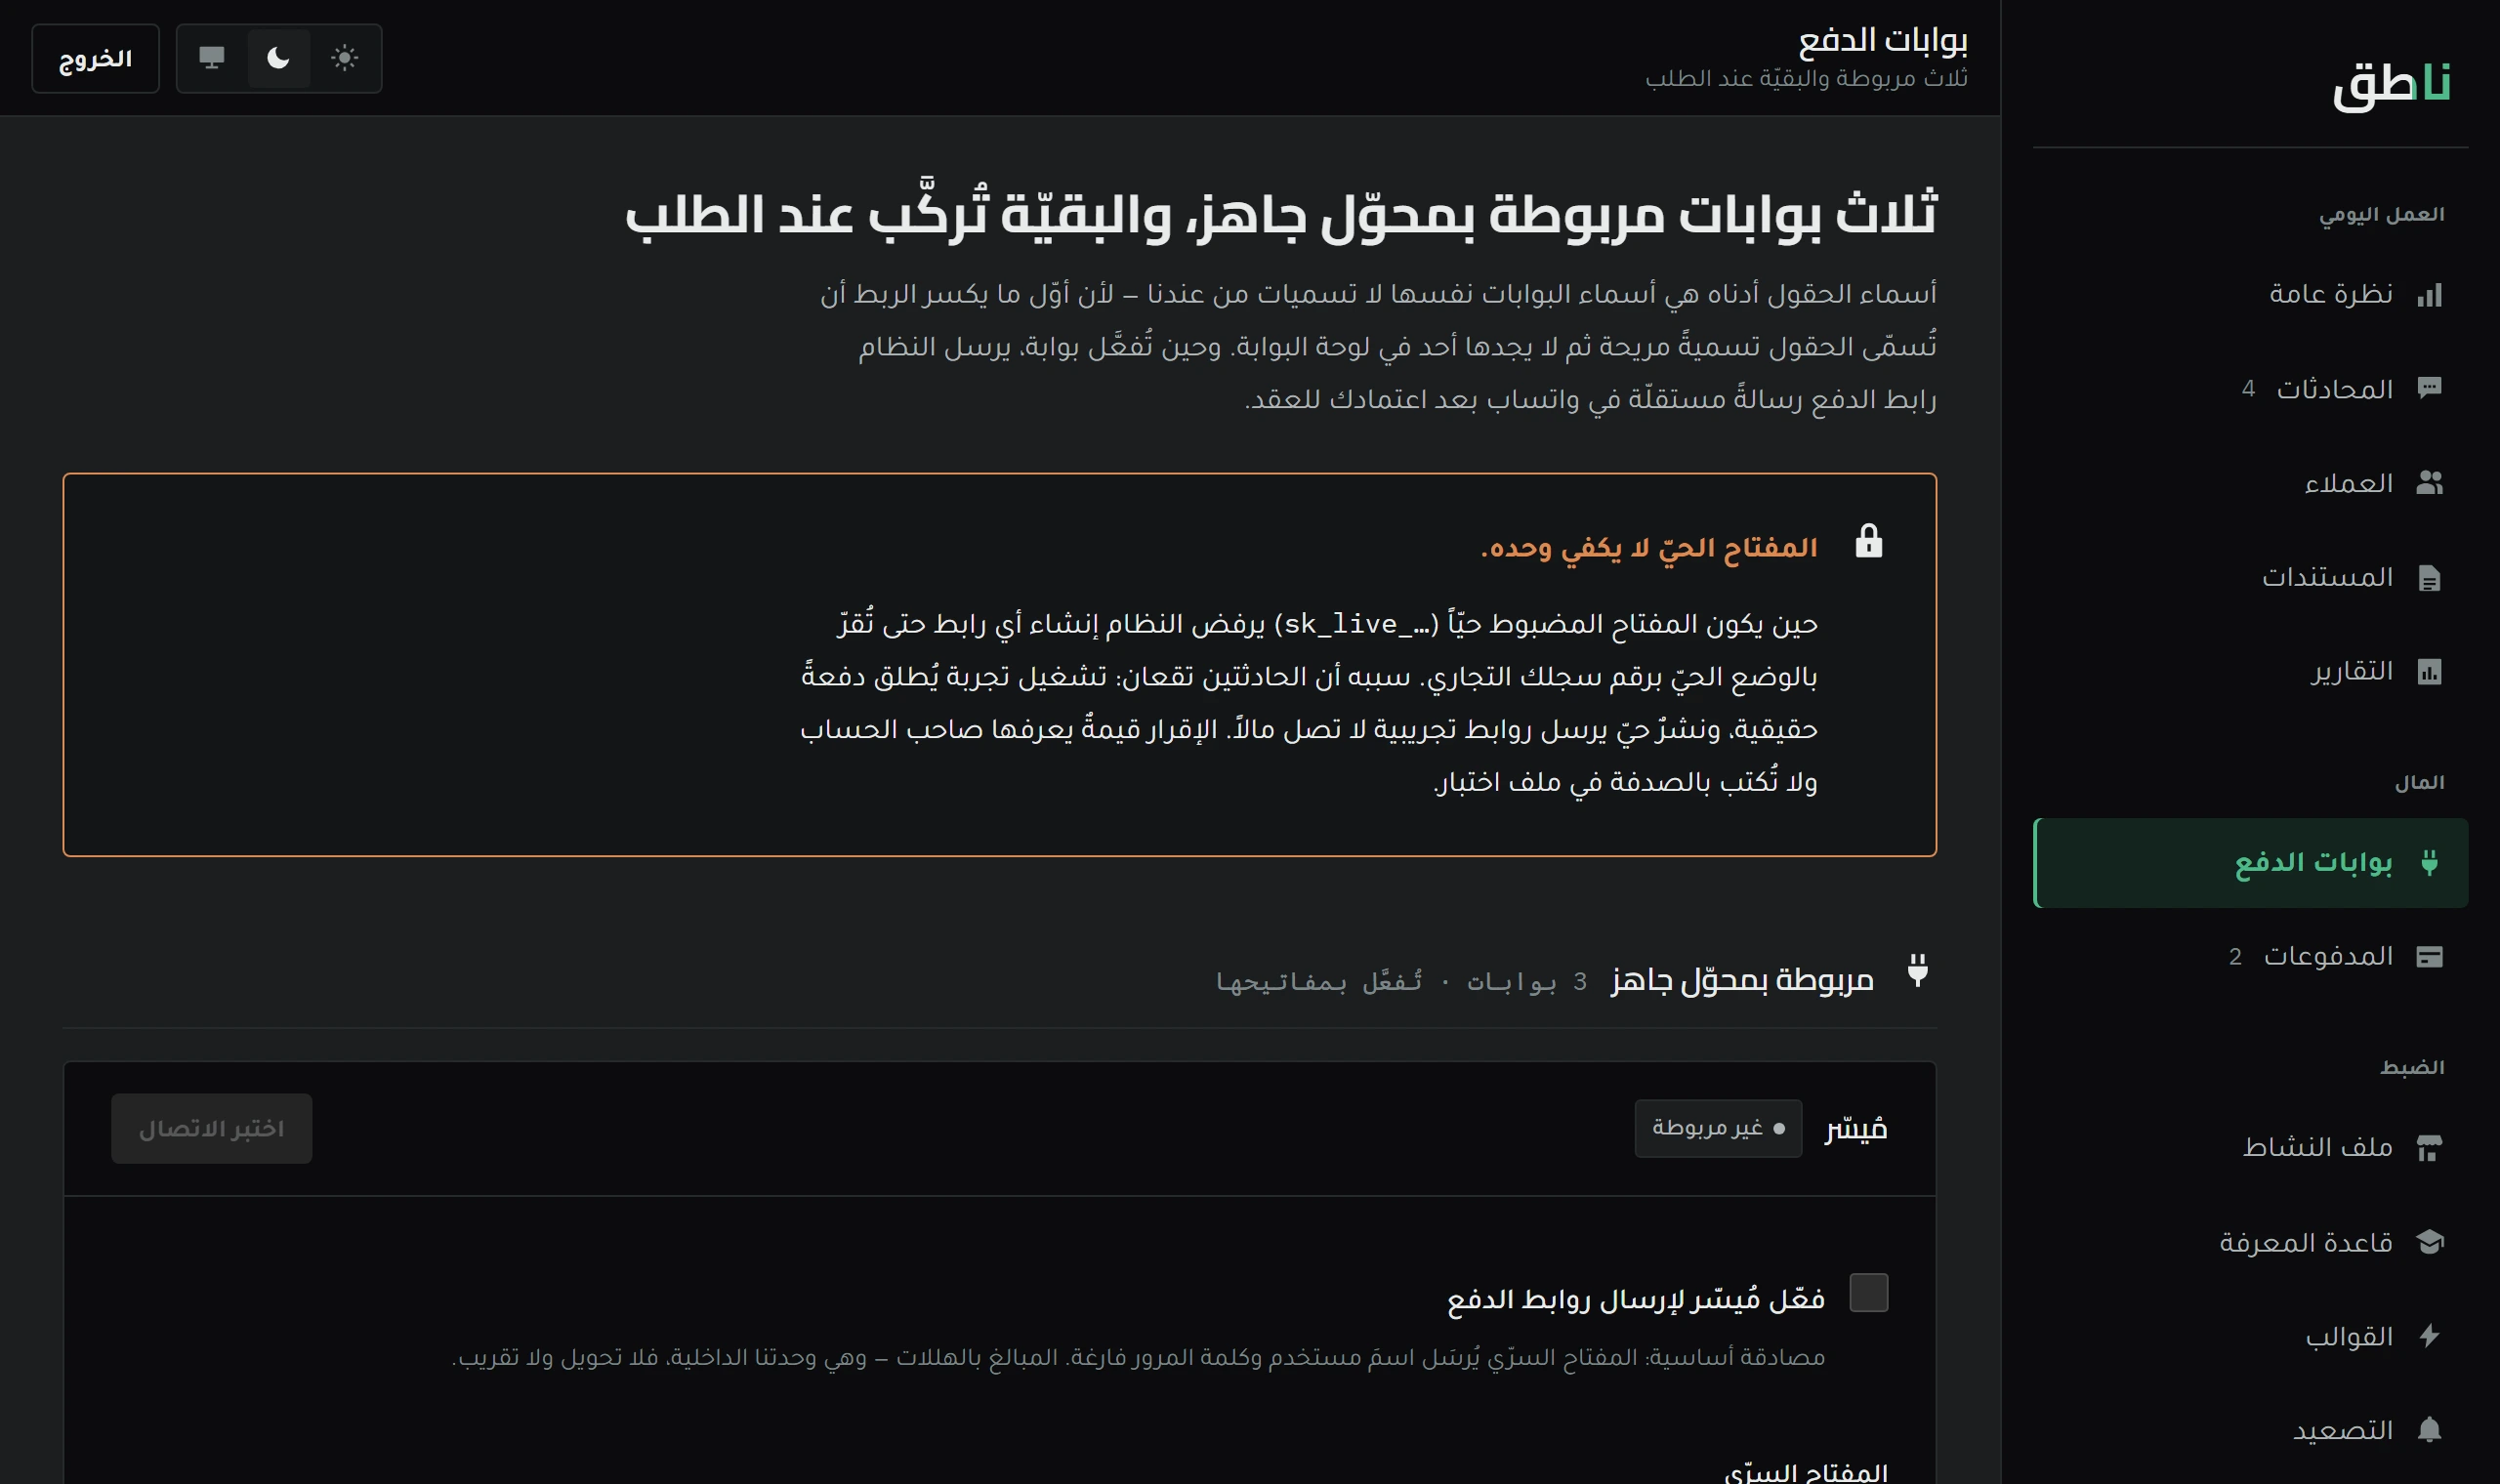
This lesson tells you where to find each gateway's keys, the difference between a test key and a live key, and why the system never gets to set an amount.
Activate with the test key, issue a link, and open it yourself. Then switch to the live key — not the other way round.
| Gateway | Fields | Note |
|---|---|---|
| Moyasar | Secret key | Used as the username, with an empty password |
| Paylink | apiId and secretKey | Exchanged for a short-lived token before each request |
| Tap | Secret key | STC Pay runs through it as a payment method |
The remaining Saudi gateways are shown on the screen with their correct mechanics so you know what awaits — and they get wired up when you ask for them.
They usually sit under «Developers» or «API keys». And note: some gateways show the secret key only once.
The fields carry their original names, so you never have to guess which key goes where.
Do not issue the link by hand — let it come out of its natural path, because that is what you are actually testing.
And check that the amount, the description and your business name appear the way you want your customer to see them.
The system asks for an explicit acknowledgement before saving it — because what follows charges a real card.
This is the most important line in the lesson. There is no function in the system called «create a payment link for amount X» that the model can call. The amount is read from the payment schedule of the contract you approved, and the code composes the link message and sends it.
The reason is that a model able to set an amount is a model holding a card reader: one cleverly worded message from a customer would issue a one-riyal link against a twenty-thousand-riyal contract.
A customer saying «I transferred it» is not evidence, and neither is a photo of a receipt. A payment is recorded when the gateway itself confirms it — and then the gateway is asked again before it is recorded. Verify, do not trust.
What happens after that is in tracking payments.
A test key produces payment links that work in form and move no riyal — that is what you test with. A live key actually charges the customer's card, which is why it asks for an explicit acknowledgement before it is saved.
No, and there is no tool that would let it. The amount is read from the payment schedule of the contract you approved, and the code composes the link message. A model that can set an amount is a model holding a card reader.
Money
The payment ladder, the state of every link, and why a payment is not recorded just because the customer said «I transferred it».
 Daily work
The system prepares the document and does not issue it. Why approval is always manual, and how to approve from WhatsApp in one message.